Showing posts with label Halloween. Show all posts

Wednesday, October 31, 2012

Happy Halloween!!

Kate's Nails 

Here on the east coast we've been dealing with Hurricane Sandy for the past few days, so I haven't been doing as many Halloween manicures as I would have liked!  I made sure I had some done for today, though!  The base of the drip nails was done in Wet N Wild's Rest in Pieces, which is black with a subtle purple glitter.  The drips are Sally Hansen's Lickety-Split Lime.  The pumpkin nail uses Sally Hansen's Sun Kissed and Going Green, as well as Liquid Leather by China Glaze.  
I hope everyone has a happy Halloween!!


Saturday, October 27, 2012

Spider Webs

Cara's nails

Halloween is right around the corner and I realized I have yet to do a true Halloween manicure! I have been seeing a lot of of spider web manicures and I thought I'd try one out. I created the spider webs using Wet n' Wild Fast Dry Eboni Hates Chris as a base coat.Using a white nail paint, I streaked white lines over a thick coat of the black. I used the drag marbling technique to create the spiderweb pattern. The accent nail is a nameless thick orange glitter. I found this glitter in a pack with other great glitters at Rite Aid for super cheap.These came out a little messier than I pictured in my head. But for a first try I think it isn't half bad. 


Keep checking back for more Halloween inspired nail art from me and Kate!!

By the power of Greyskull!!

You know... because my nails are grey.. with a skull on them.. He-man? Anyone?
 
In continuing with Halloween nails, I wanted to use some of the great Halloween stamping plates I have.  The skull is from Bundle Monster's plate BM-211.  The grey is Ulta's Concrete Evidence, and the black and silver flakes are Ninja Vs. Pirate by Nail Pattern Boldness. 


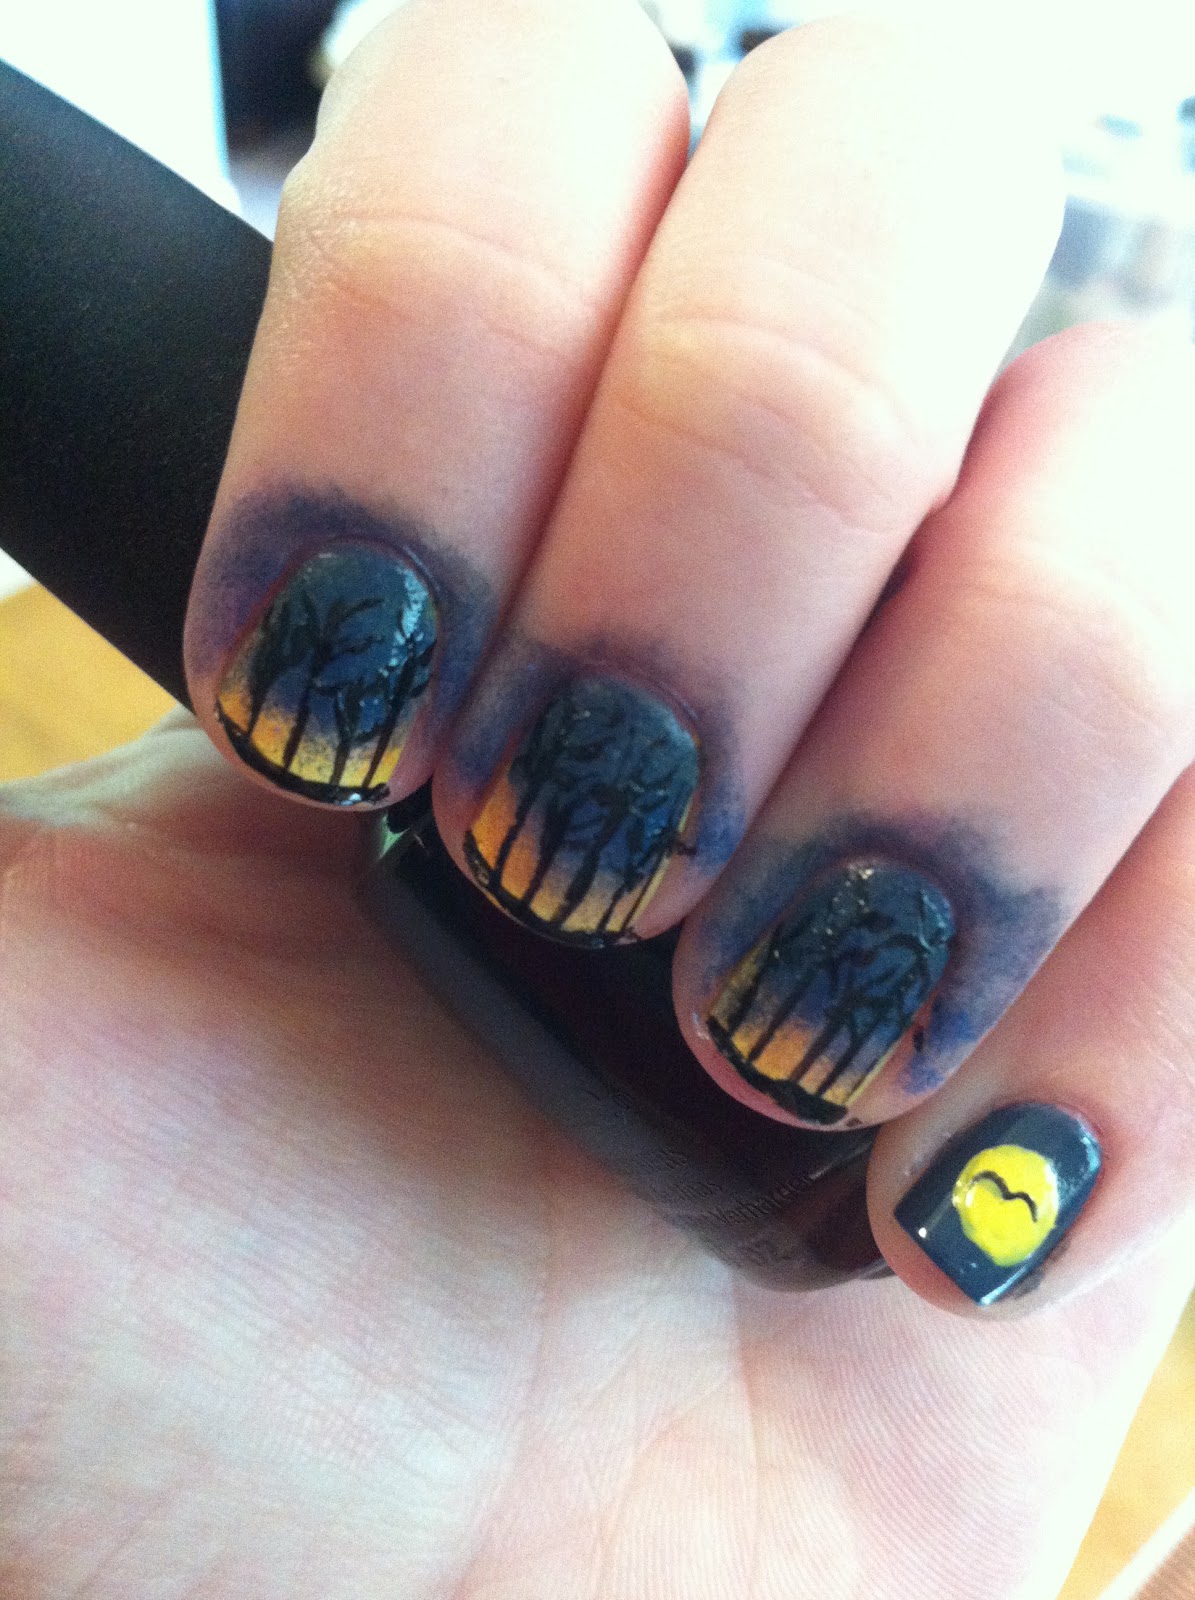
Nighttime Forest Nails (and tutorial!)

Kate's Nails
I'm a little behind on starting with the Halloween nails! I've seen a lot of great designs this year, but I didn't quite know where to start.  I didn't want to start with a typical pumpkin, ghost, or spider manicure.  Then I came up with this idea.  It's not a typical Halloween design, but I really like it none the less!
 
 
And, because it's Saturday, and I don't feel like cleaning and doing errands, I decided to do a photo tutorial for these nails.  Enjoy!
These are the polishes I used.  I'll give the names when I use them in the steps, but here are the general list of what you need:
Base coat, top coat, black, yellow, orange, blue, purple, navy, a makeup sponge

 
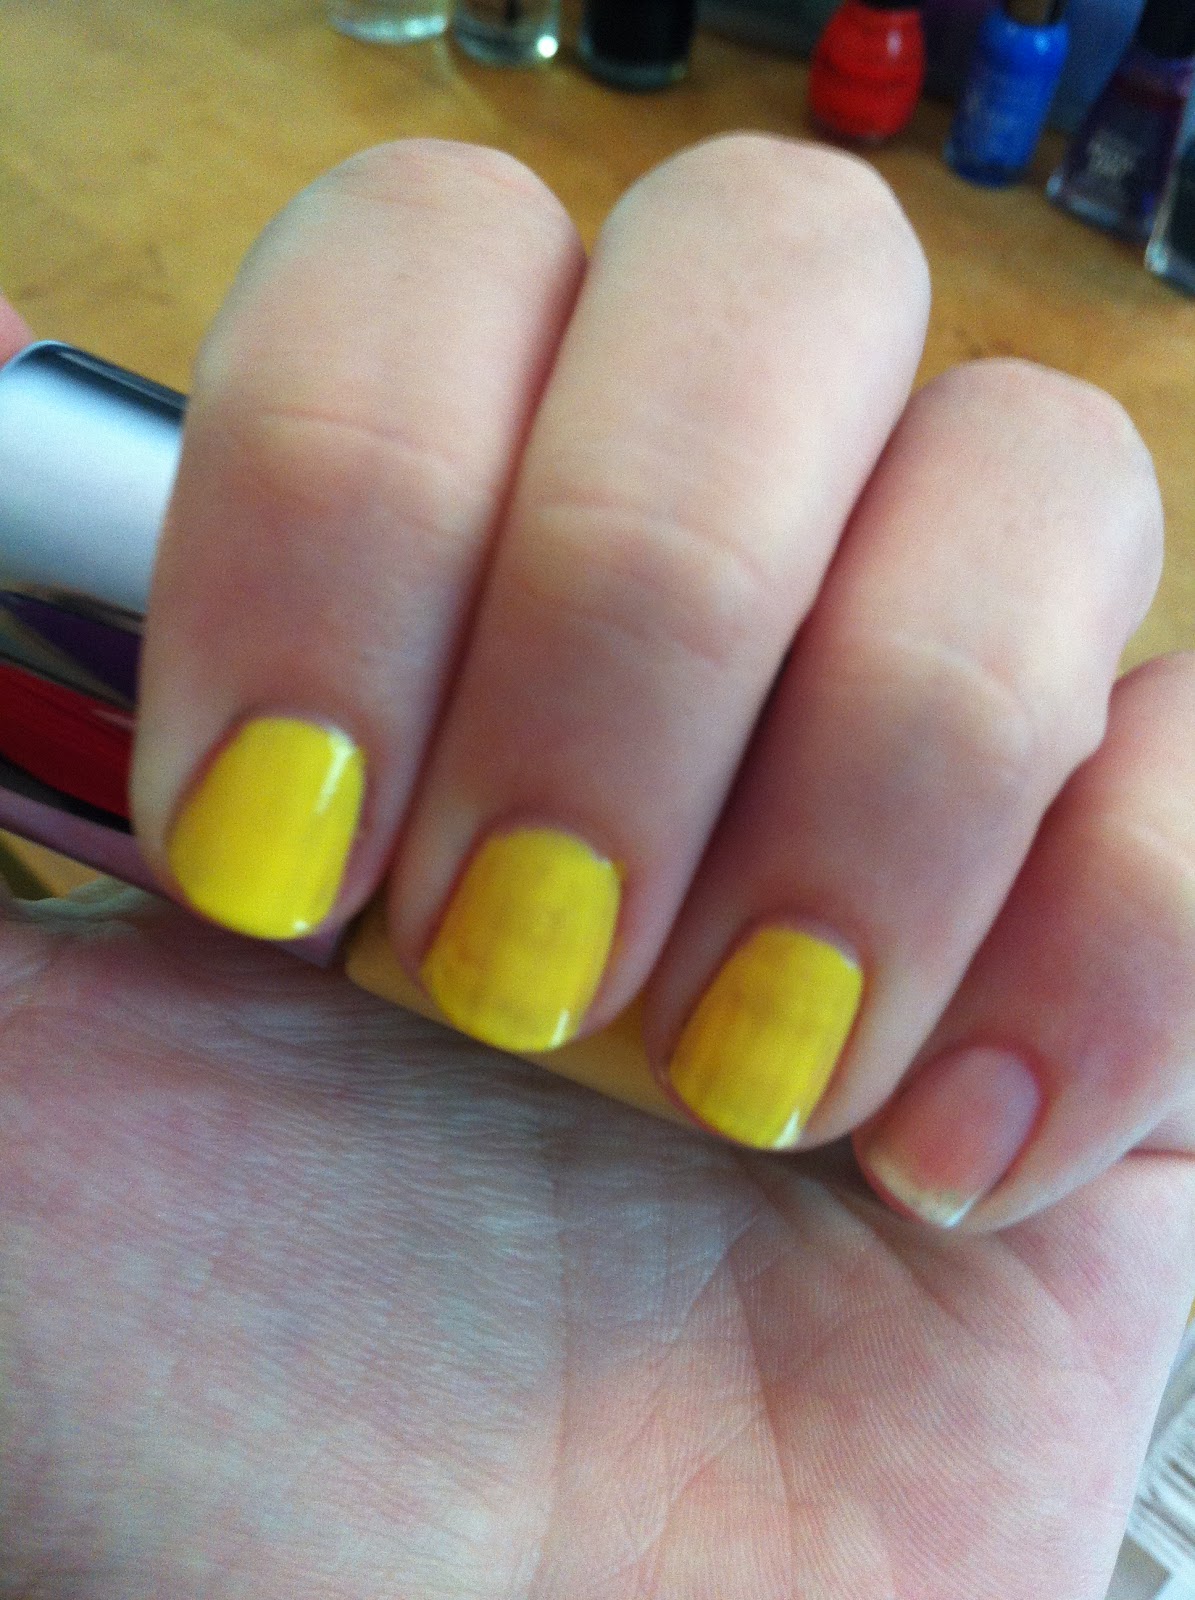
First, paint a thin coat of yellow on the nails that your trees will be on.  This yellow coat doesn't have to be even or pretty, since it's going to be almost entirely covered up.  I used Ulta's Sun-Sational

 
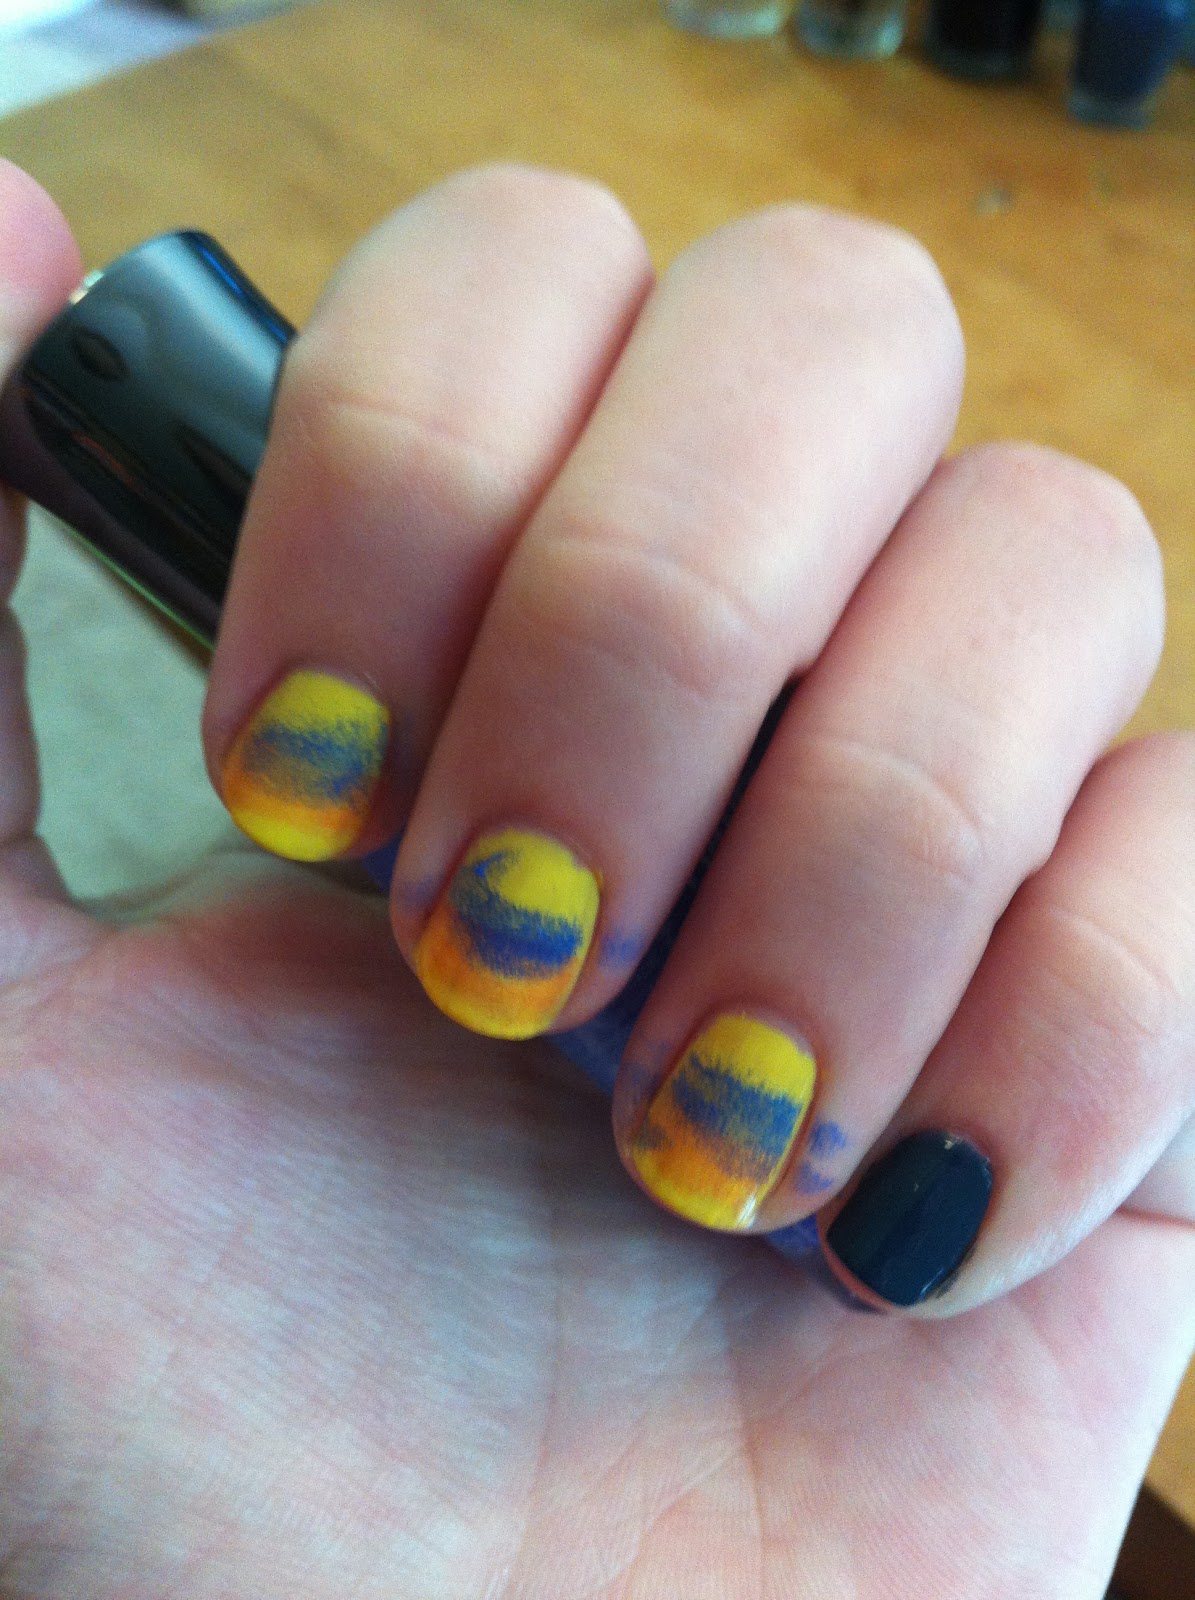
On the nail where your moon will be, paint two coats of your navy polish.  I used Natty by Zoya.

 
With your orange polish (I used Big Daddy by Sinful Colors), sponge a line across your nail.  Leave the tip un-colored.

 
With your blue, sponge a line just above the orange.  I used Pacific Blue from Sally Hansen for this step. 

 
I then sponged Grape Going! by Sally Hansen over the entire nail.  This purple/blue duochrome color is very thin, so it's not too noticeable, but added a nice dimension to the colors. 

 
While those colors are drying, paint on your moon.  I used two coats, but made sure it was not opaque in some places so that it had more depth to it.

 
Then, use your navy blue polish to sponge on a pretty thick coat on the rest of the nail.  I ended up having to do this twice to get good coverage. 

 
Your nails will be a sloppy mess at this point, but that's ok!  Use your black polish (China Glaze's Liquid Leather ) to paint a bird flying across the moon.

 
Then paint the ground across the tip of the other nails.
 
 
Paint on the trunks of all your trees.  Have them be all different heights.

 
Then paint branches on all your trees.  Make them different shapes and sizes.

 
Clean up your nails with some acetone and an angled brush.  Apply top coat and you're all done!  I ended up using a matte top coat on these, and really like the results.  If you end up trying this design, send us a picture!!


Saturday, October 20, 2012

Pumpkin Half Moons

Cara's Nails

I went "punkin hunting" today and am preparing to spend the rest of tonight carving up my cool green Cinderella pumpkin while stuffing my face with kettle corn. I had this pumpkin half moon manicure floating around in my head as soon as I woke up this morning. I loved the idea of doing half moons but did not think it all the way through. I had the hardest time photographing these but I think they turned out pretty great. 


I used two coats of Ulta Sun of a Gun for the pumpkin half moons. The background is Teeltotal from Butter London and the vines are Going Green from Sally Hansen Xtreme Wear. The accent nail is Sinful Colors Serena and Chloe.